
Here's how I made them:
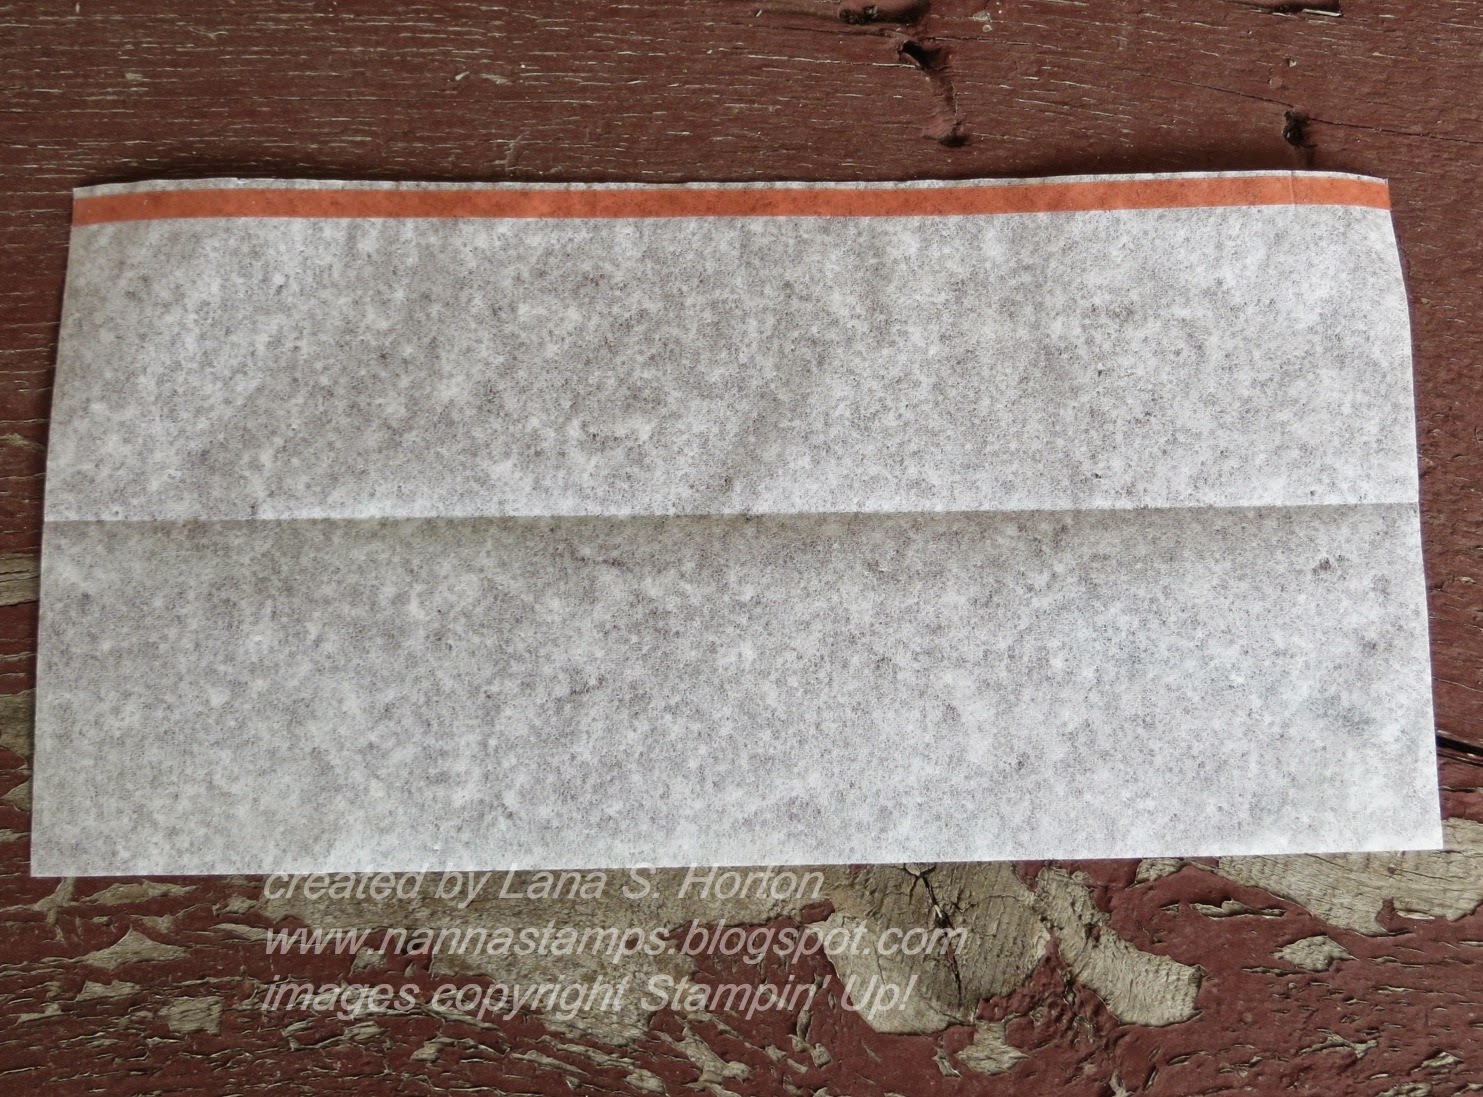
- Open your package of filter paper. You'll have 4 long pieces and 8 circle pieces.
- Cut all 8 circles at once with the largest or next to the largest Floral Frames Framelits and set aside.
- You can make a paper flower with it at another time (See my next post!)
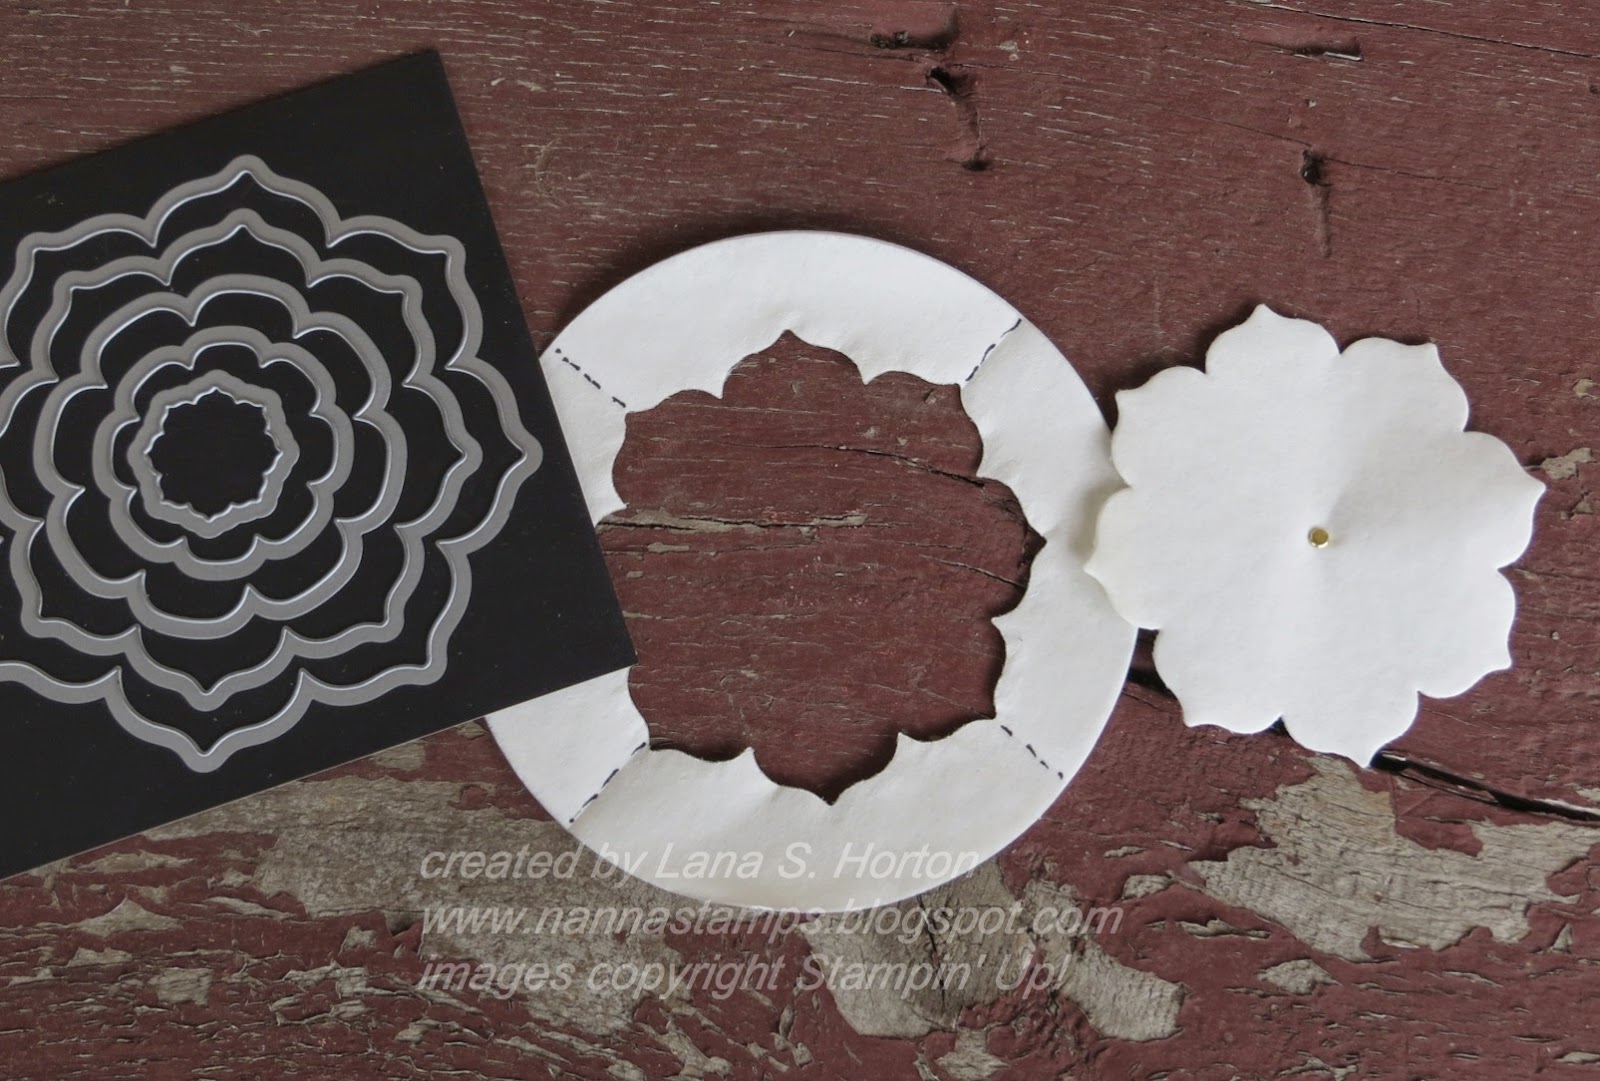
To get a perfect center for your brad, fold your scrap piece in half both ways (I marked mine so you can see it better.) and lay your flower back into the negative part of your scrap. You can easily see where your center is going to be now. I've used the next to the largest framelit. I think it makes a great size for a flower.

- Attach another piece of Sticky Strip to the edge.
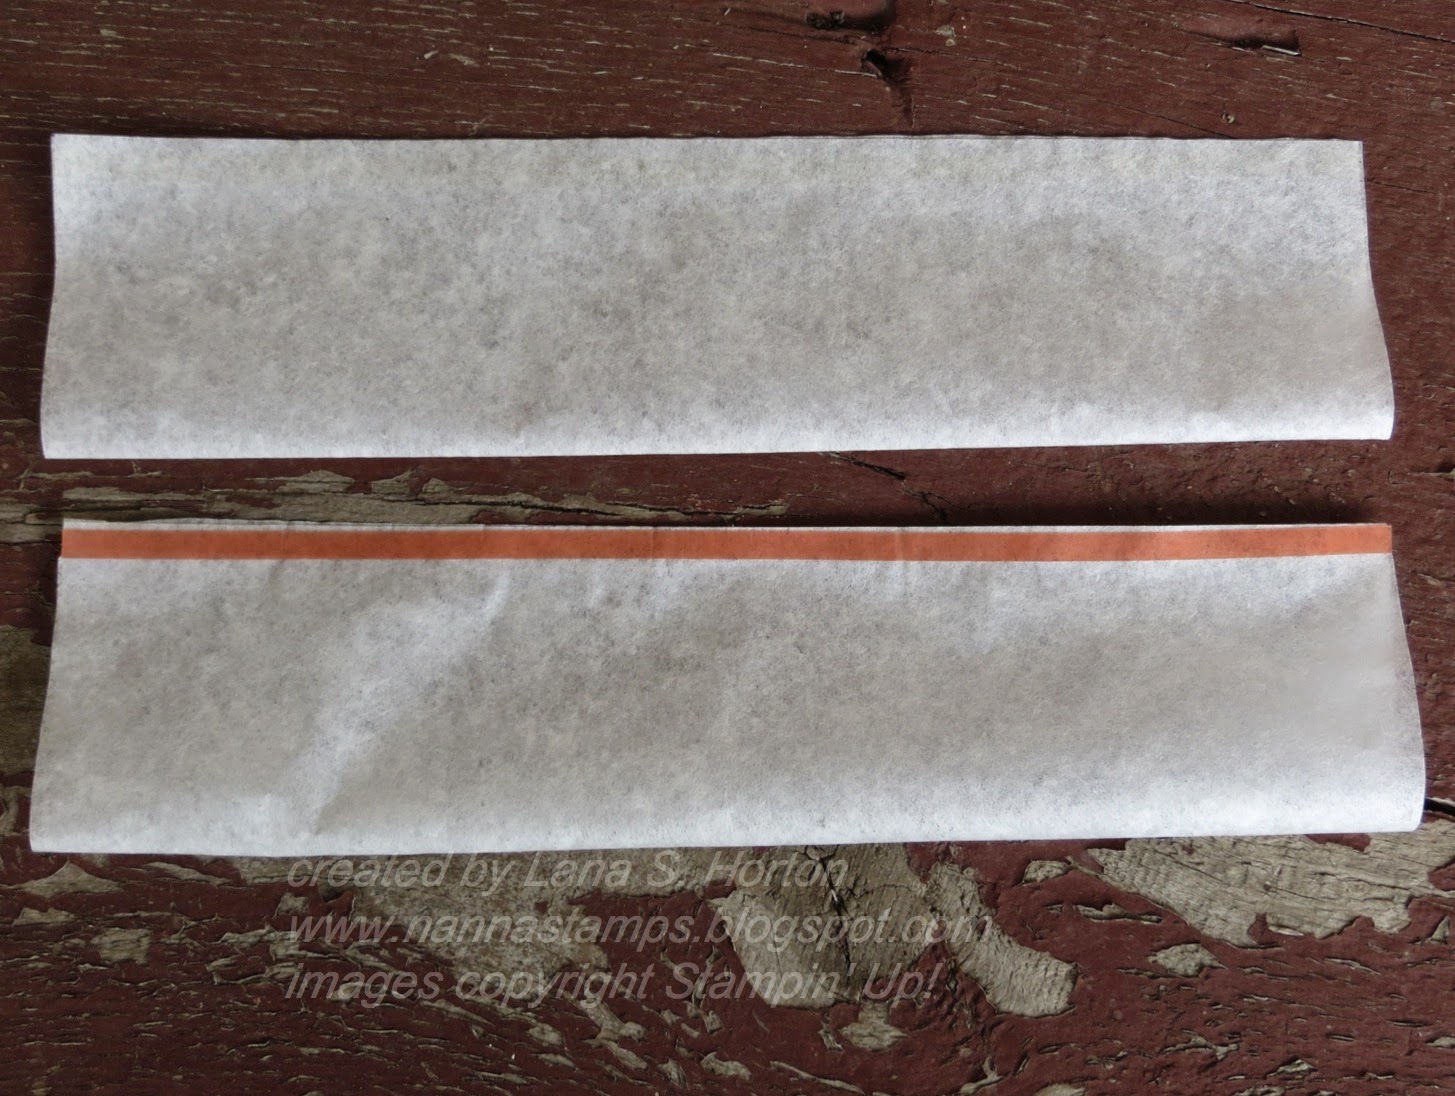
- Attach 1 more piece of Sticky Strip but leave the back on this one for now.

- When you've fringed the entire piece, remove the backing from the last piece of Sticky Strip and start rolling the piece of filter paper up into a flower. Roll as tightly as you can.
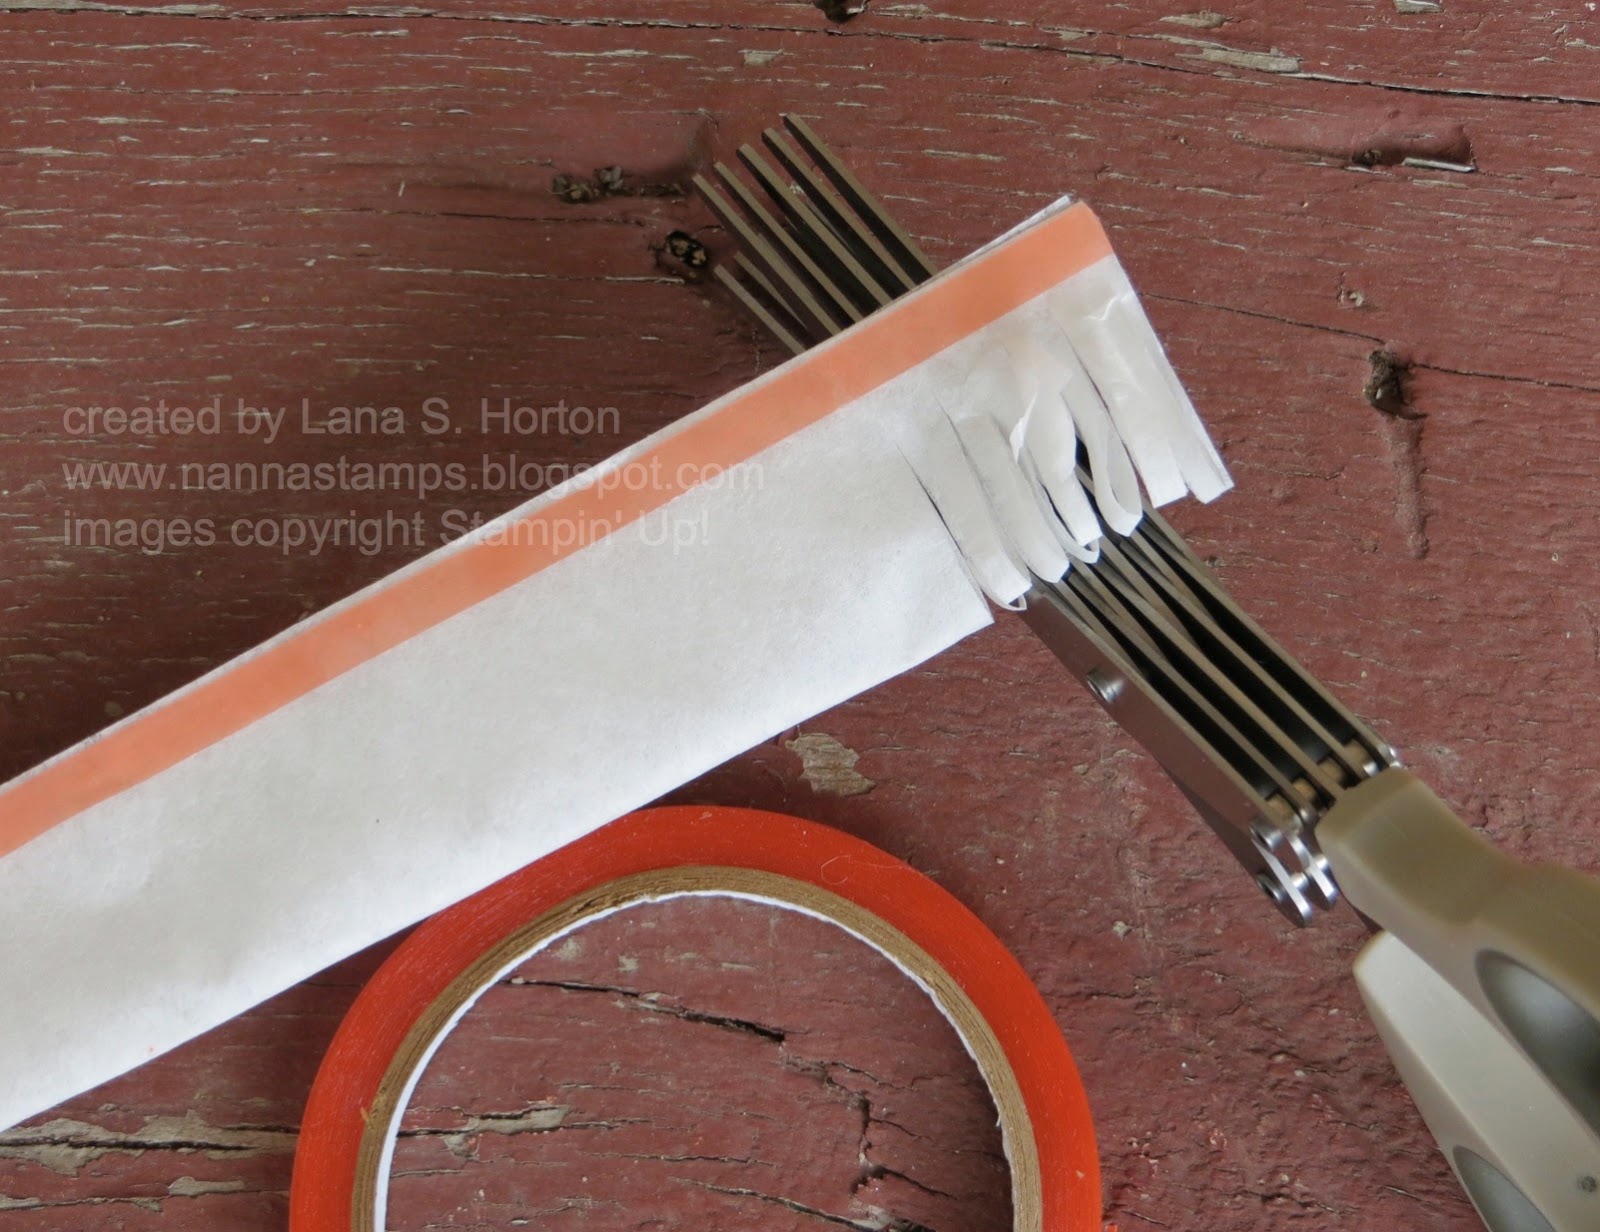
For a small flower, just roll up the 1 piece of filter paper. For a larger flower, roll a second piece (prepared using the steps above) of filter paper around your first rolled piece.
You'll have 4 long pieces of filter paper in your package, so you can make 4 smaller flowers or 2 fluffier flowers. This is how I made my flowers, because I wanted them fluffy.
-Spritz with a color of your choice or leave it white.
Click here for a video on making the snip and spritz flower:
http://www.youtube.com/watch?feature=player_detailpage&v=Fecl-k3k_Us

- Thanks
for stopping by my little corner of the blogging world.
-
Click on the tab at the top of the page to see my class schedules and
registration policies or click on the left for sneak peeks.
- Come back soon
and come back often for more creative inspiration.

No comments:
Post a Comment