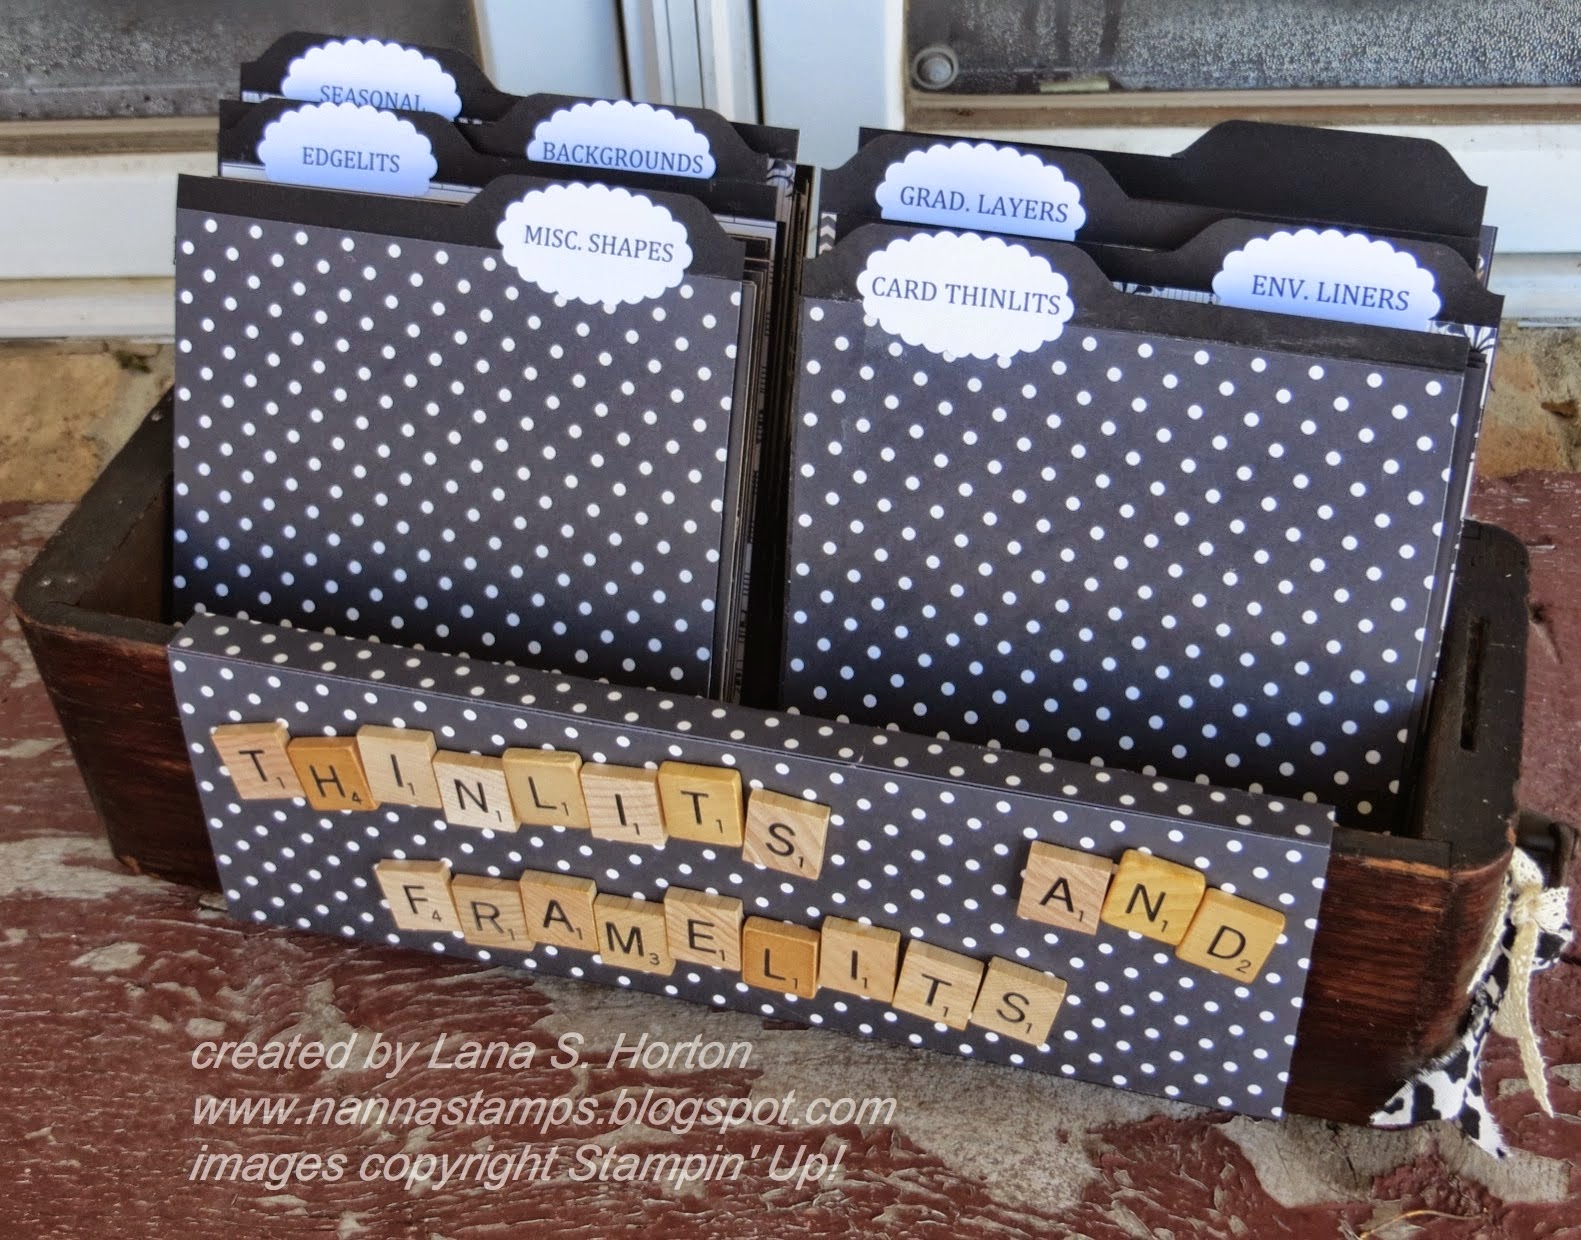
So, here's what I did:
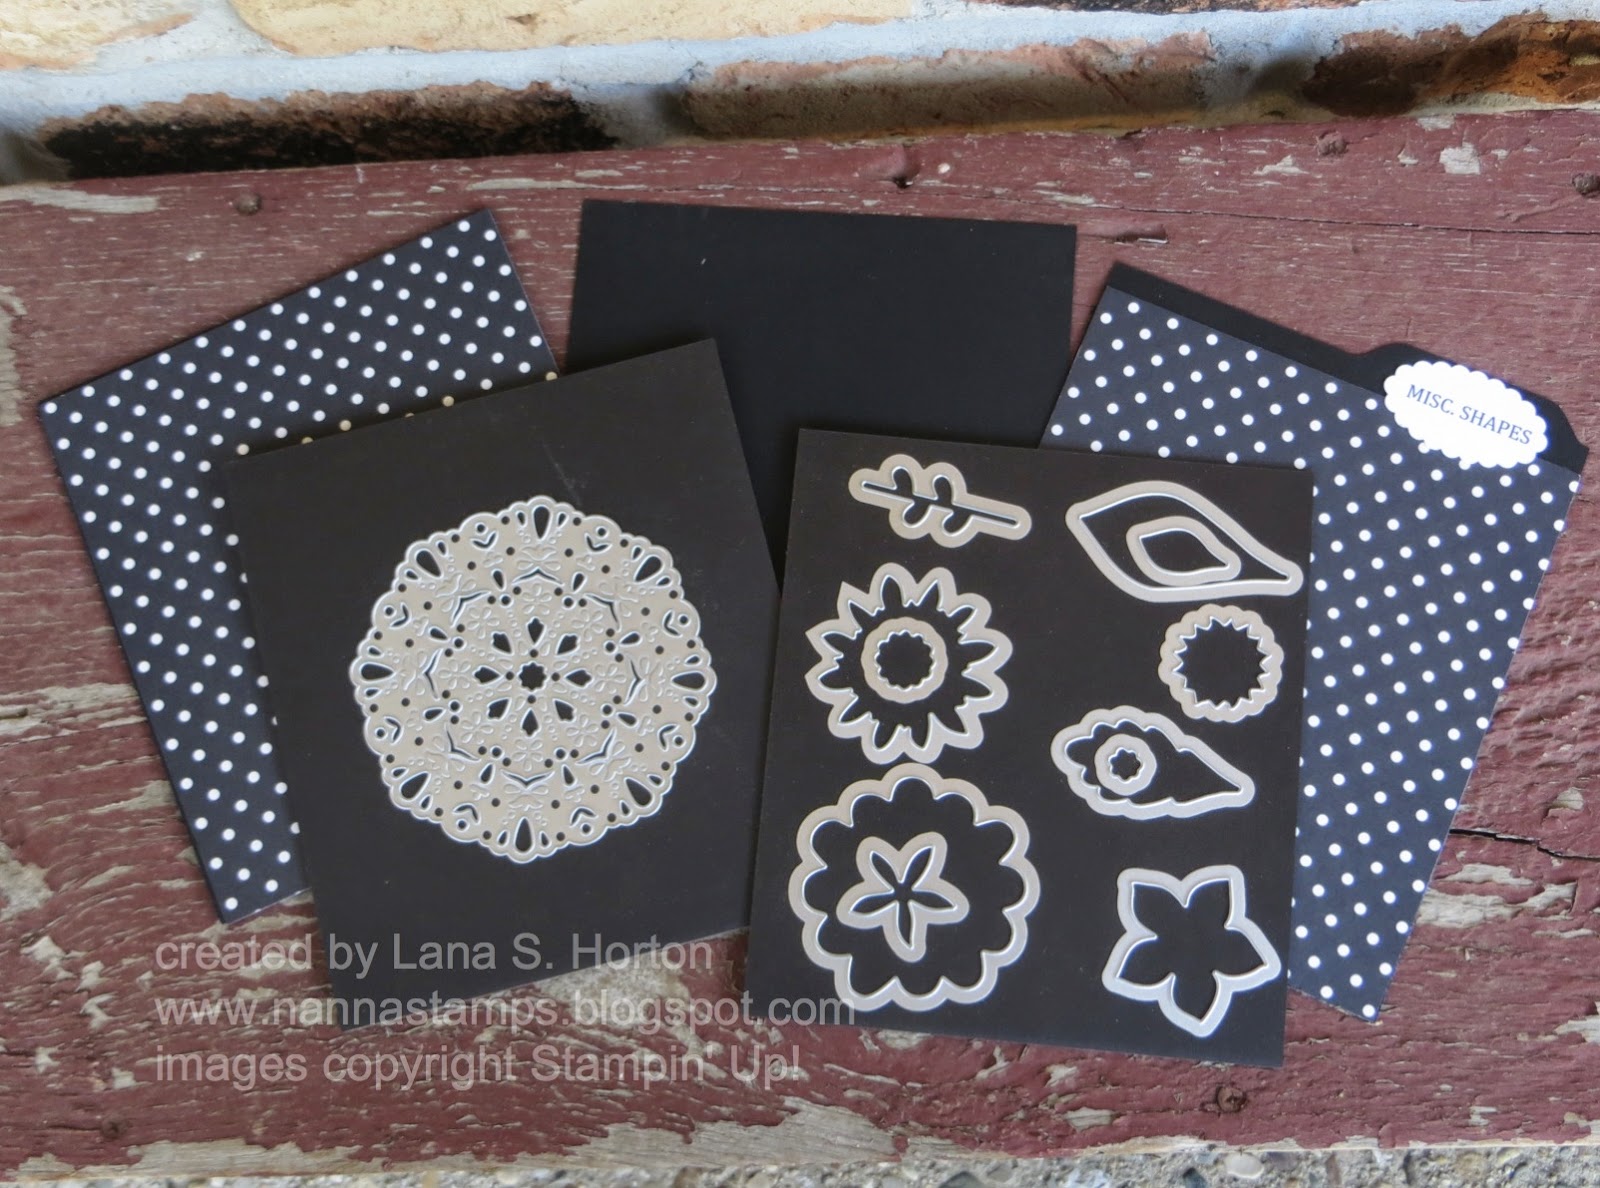
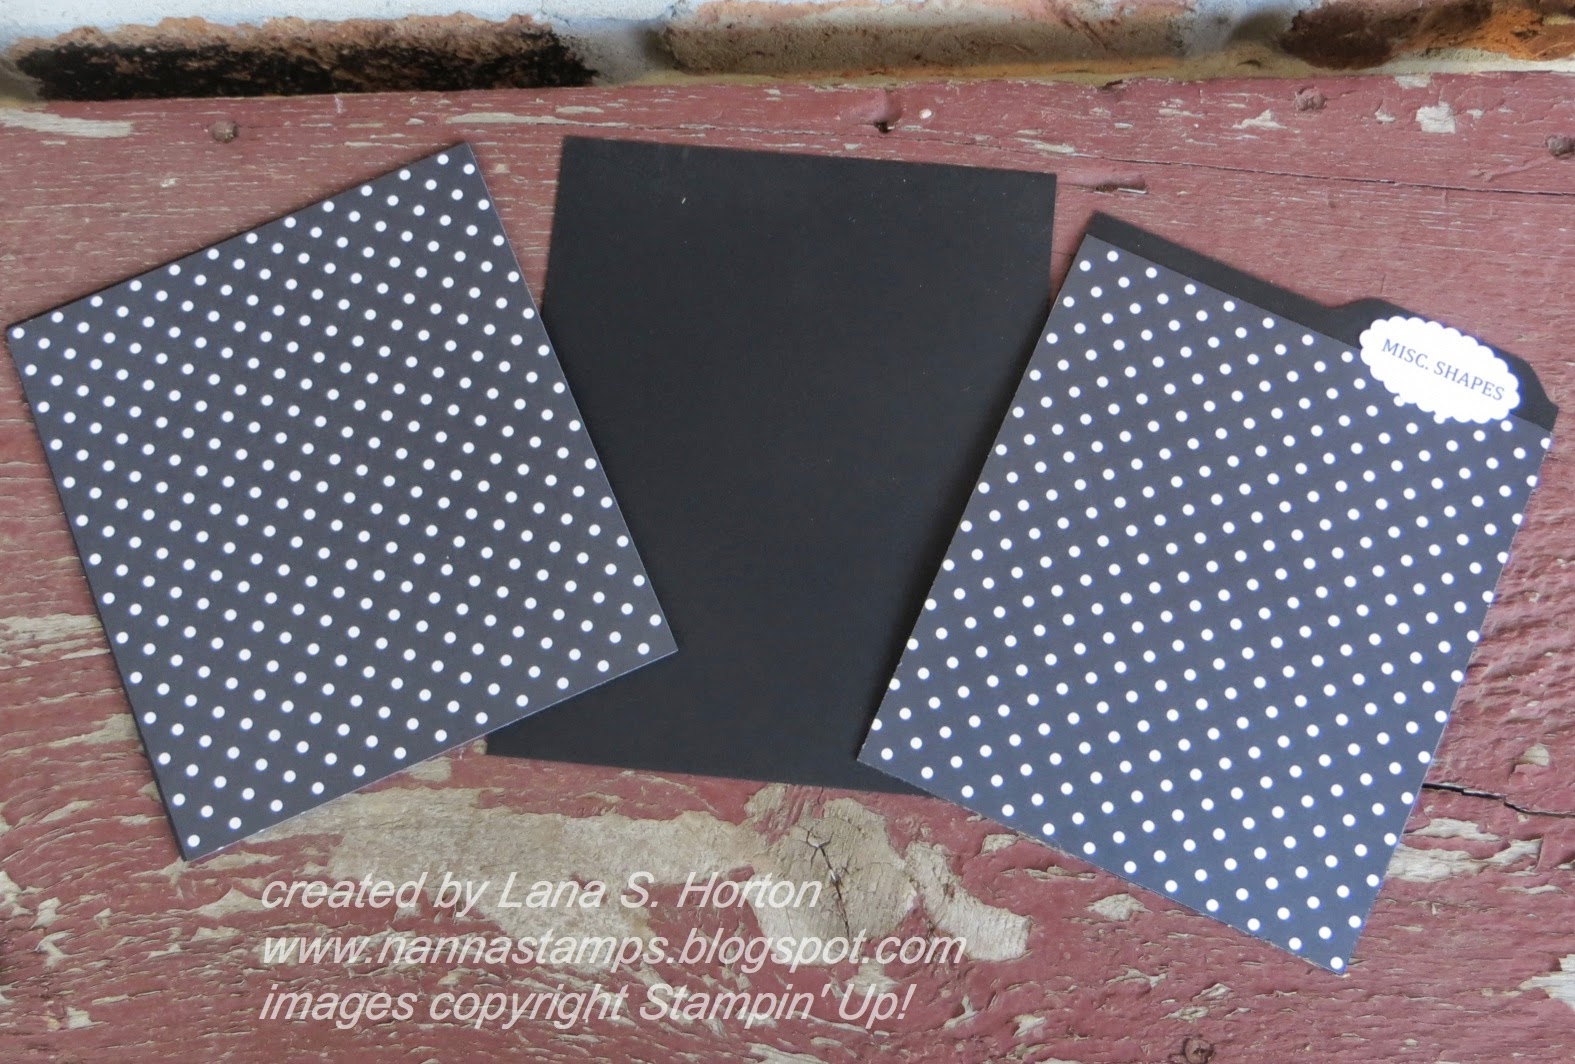
1. Cut CS ( I used black.) to 6 X 7 1/2" pieces.
2. Cut DSP to 6 X 6 3/4" pieces.
3. Create file tabs using the Envelope Punch Board.
4. Attach DSP to black CS.
5. Type and print labels on computer.
6. Punch out labels with Scallop Oval Punch.
7. Attach labels to divider cards and you're all ready to set up your file.
Tip:
Make extra dividers to have on hand for when new products come out from Stampin' Up!
http://nannastamps.blogspot.com/2014/02/oh-yes-i-did.html
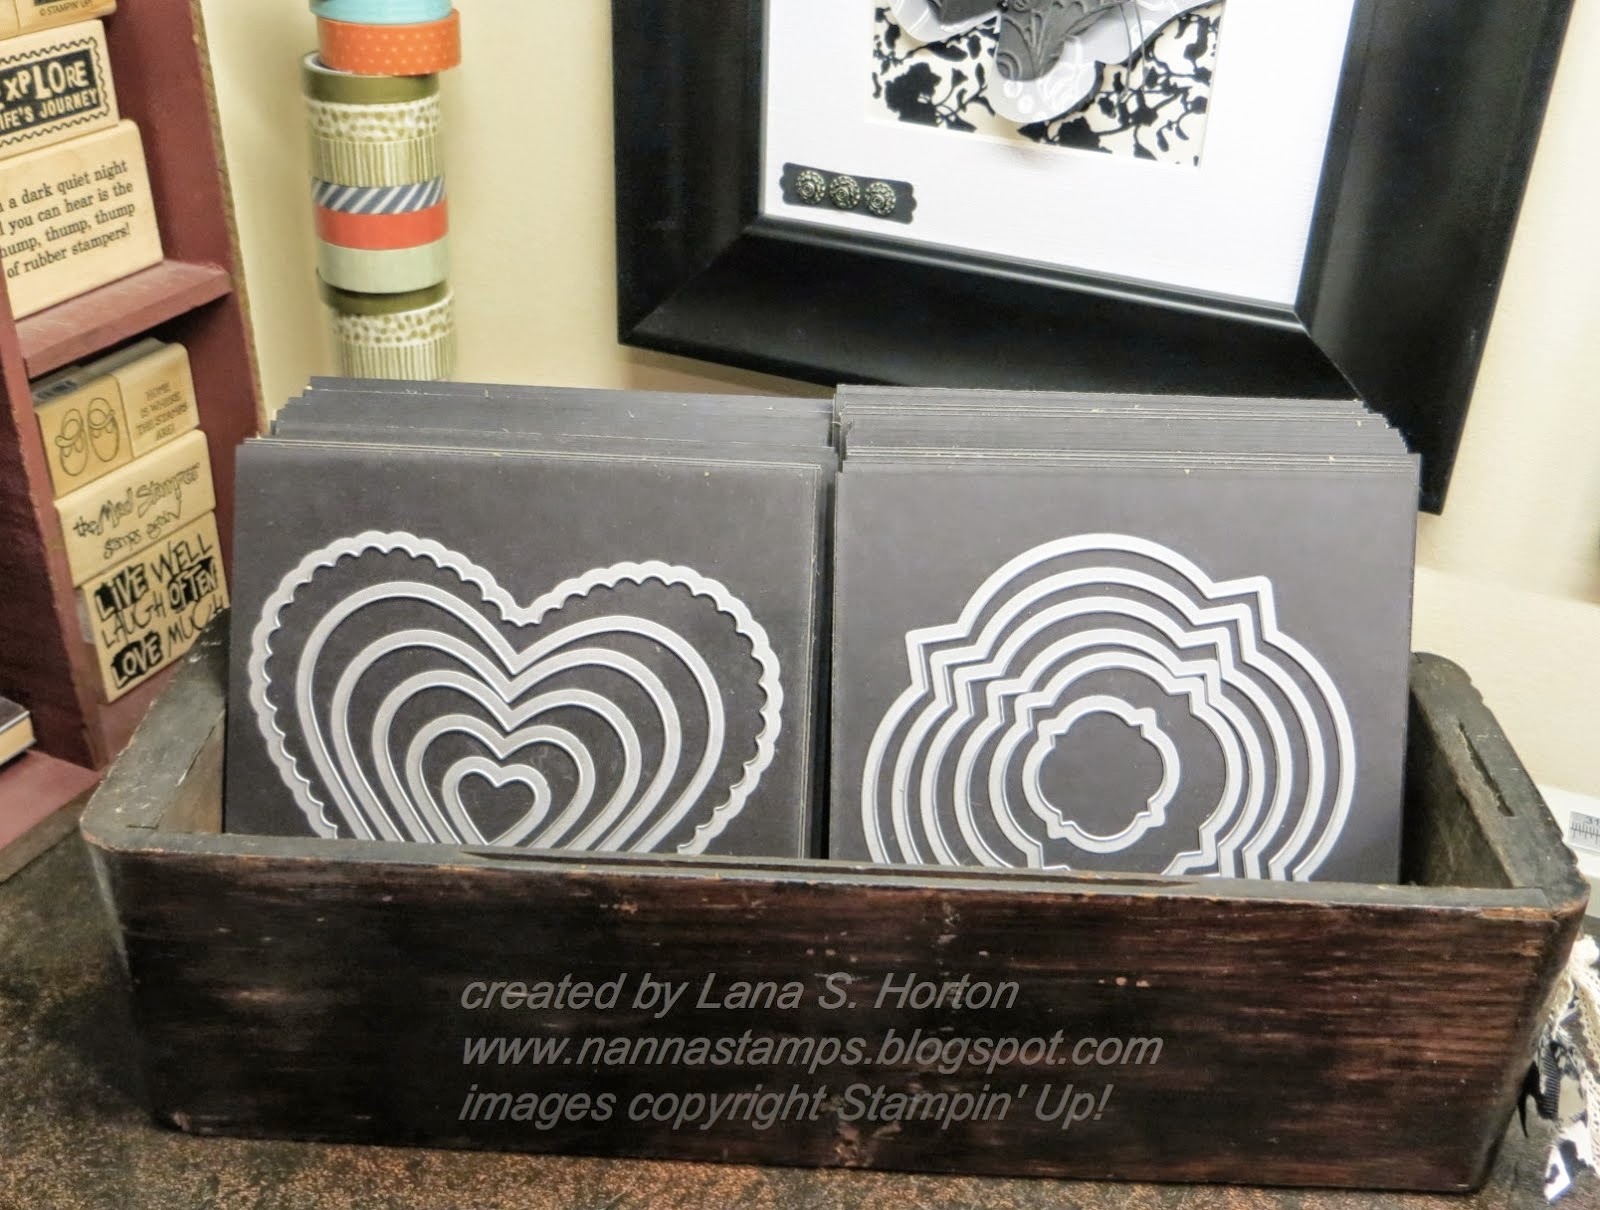
Remember, it all started out with a rugged sewing machine drawer.
Tip:
If you are looking for a vintage sewing machine drawer, you need an extra long one if you want to accommodate 2 rows of cards like I did. Some drawers are not this long.
- Thanks
for stopping by my little corner of the blogging world.
-
Click on the tab at the top of the page to see my class schedules and
registration policies or click on the left for sneak peeks.
- Come back soon
and come back often for more creative inspiration.

No comments:
Post a Comment