Today, let's continue our work on getting your crafting space organized. Remember, these are
ideas for you, based on what works best for me. You must take them and use them in ways that work best for
you!
More important than anything:
- Keep your space fun, but functional.
- Keep your space organized.
- If something's not working, work to change it.
- It's your space. Make it truly yours!
Here are some examples of favorites from my studio. I hope they will give you some fresh ideas to use in your own space.
Up first, a perfect example of what I mean by keeping your crafting space fun but functional. I LOVE old boxes. This one was a fabulous find because it is in super condition and has a wonderful old metal handle on it. It brings back special memories because I was with my father on an antiquing trip when I found it. He was so delighted with how much I loved it.
This is not just a special box, however, it is a key element to my working space. It contains all the tools I need out all the time. It stays front and center where I work.
I decorated it, keeping with my black and white basic decor, to add even more fun to my work space.
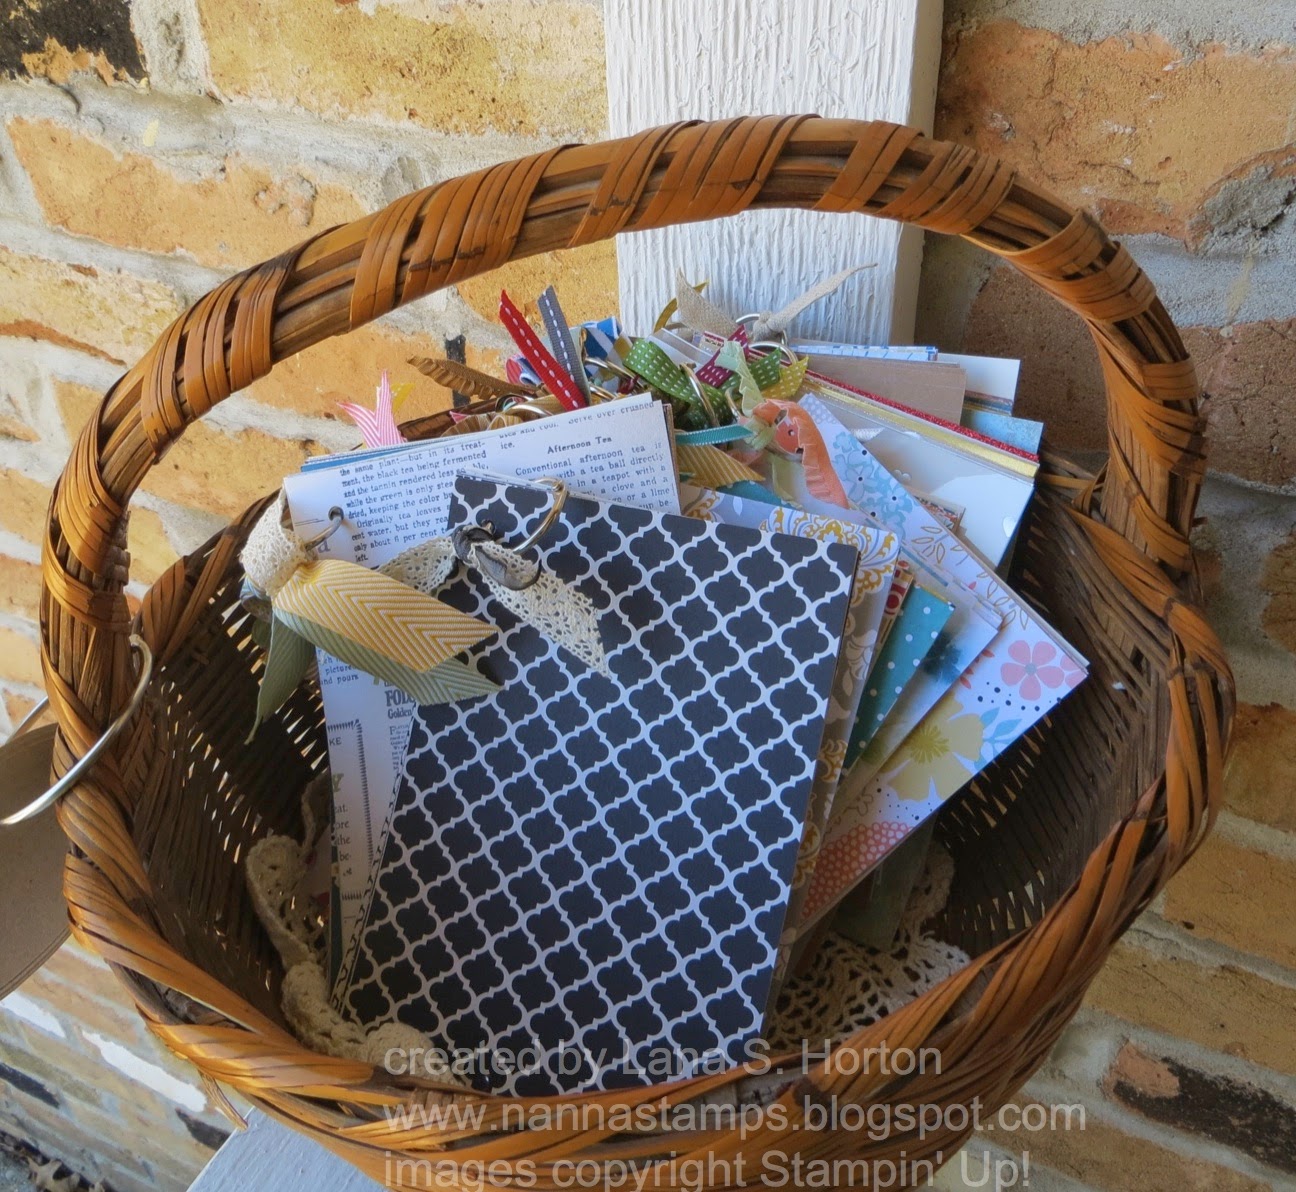
This old basket brings back more special memories, going way back to my childhood. Would you believe this was an old Easter basket from my youth? It's holding up better than I am, maybe:) I have DSP samplers in it, each design on its own ring. As you can see, I use rings a
lot. I added some coordinating ribbon to each ring, to decorate it a bit and to show examples of ribbons to use with each of the papers.
Above and below: Remember my 3-tier server I showed in my Part 1? These 2 containers are kept in it. Small containers like these are great for keeping all those little left-over pieces from getting lost. I found the darling little cup (along with its twin) on one of my antiquing trips. I love it.
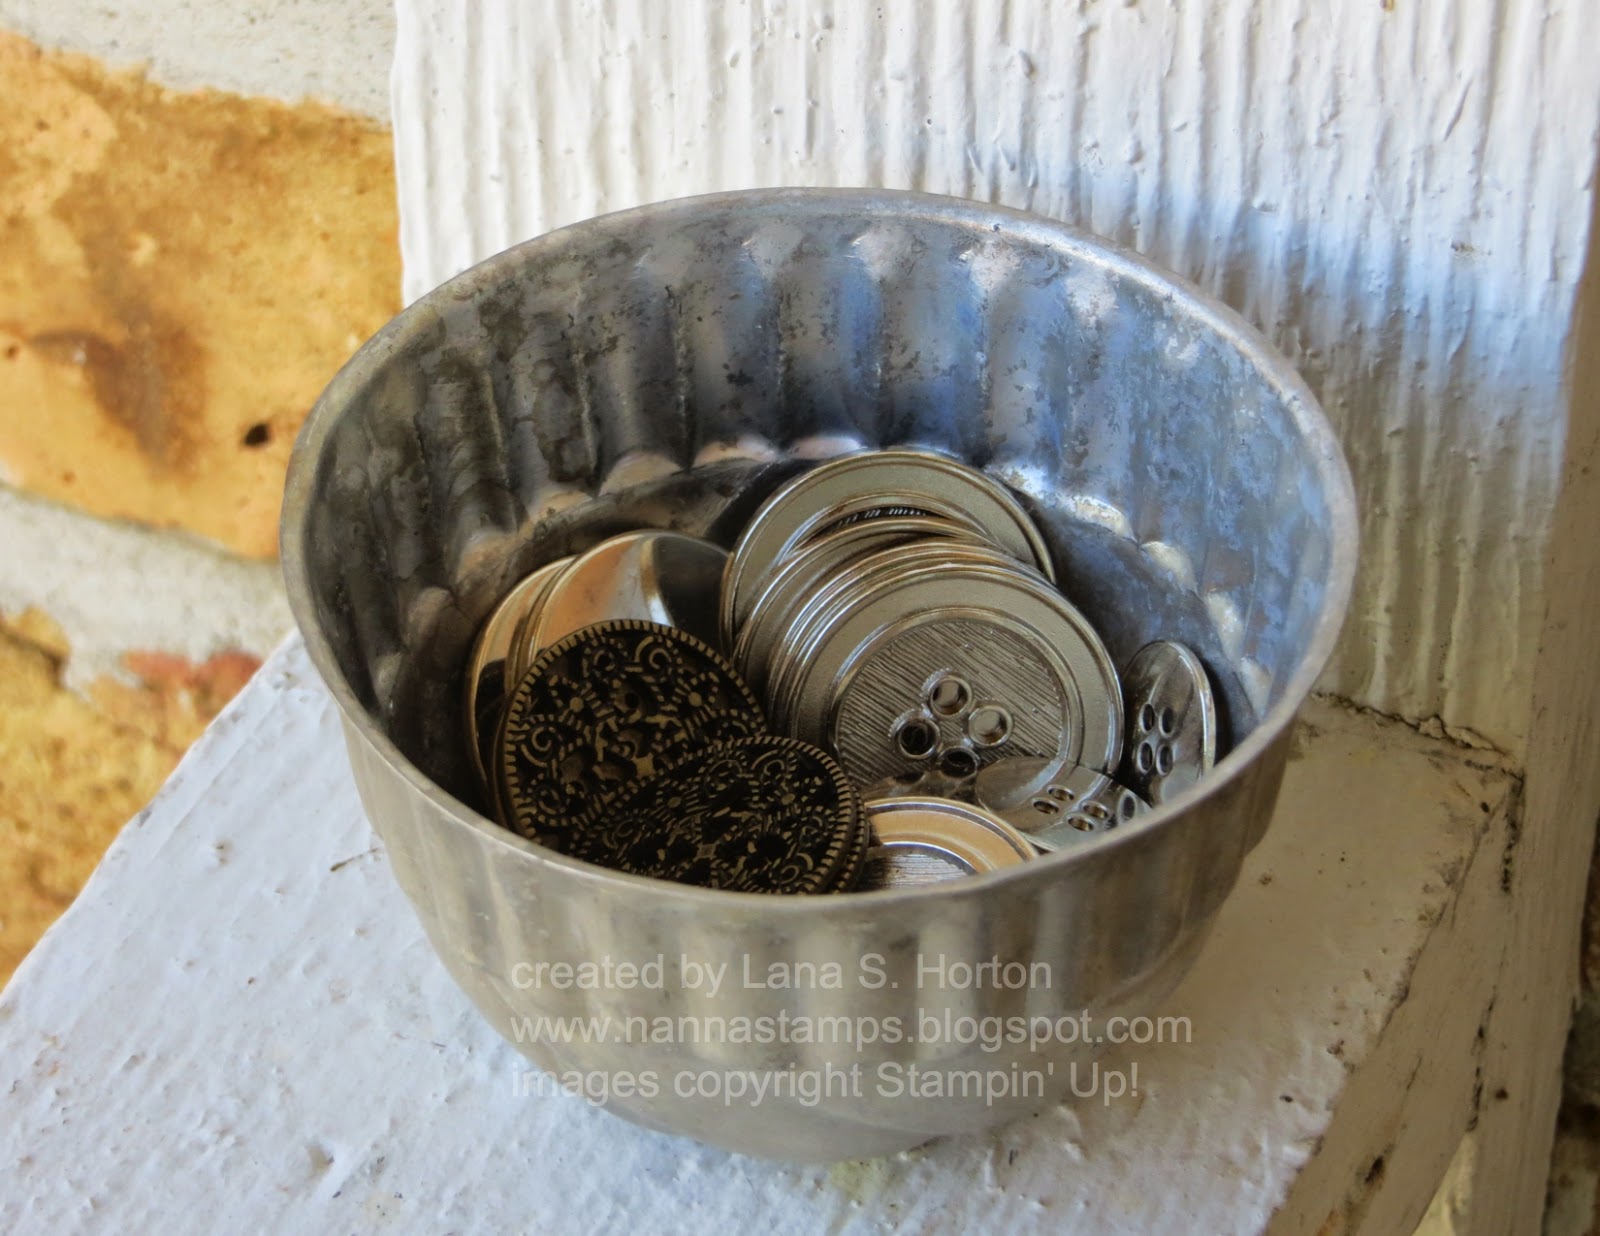
Anyone need a button? I cannot tell you how many buttons that I have, but it's probably a zillion. I love buttons! I love to use them and I love the way they look in cute containers. I have lots of old jars full of buttons and now, I notice that I seem to be getting quite a collection of vintage molds going, as well.
This is a neat old drawer that I found while antiquing. I thought I was going to use it, with dividers, for cards or maybe make a jewelry holder to hang on the wall, or maybe make a shadowbox...
As you can see, I had lots of great ideas for it. One day, while it was sitting on my desk, I stopped work to clean up a lot of papers that were out and looking messy and in my way. The next thing I knew, I'd lined the drawer with fabric, decorated the knob (could NOT leave it plain) and it became a wonderful
IN box for my desk. It's turned out to be quite handy. I hate paper mess and paper has a way of getting out of control in no time at all.
Here's yet another way I've used a sewing machine drawer. This contains spritzers of all types. You can add a punched circle on top of the lid to remind you of the color, but I also label the side. I don't want to grab the wrong one.
On this ring, I have a stamped flower for each of the Stampin' Up! colors, including all the In Colors. It's a handy reference for project planning and easy to keep handy with them all on a ring.
Last, one of my most special treasures --- an old crockery bowl that was my grandmother's I love and cherish this bowl. It looks really nice with balls of string and twine, in neutral colors. I actually use these a lot in various projects, so it is not just something pretty to sit out, but a useful item in my crafting space as well. Before using it this way, I had rolls of ribbon in it. That worked well, also.
So... we've arrived at the end of my 2 parts on
Organizing Your Crafting Space. I hope I have gotten you excited about fixing up your crafting space. I will share a few more tidbits here and there in future posts, but these were the ones I wanted you to see right away.
For more ideas, click here to see my previous Studio Tour.
- Thanks
for stopping by my little corner of the blogging world.
-
Click on the tab at the top of the page to see my class schedules and
registration policies or click on the left for sneak peeks.
- Come back soon
and come back often for more creative inspiration.


No comments:
Post a Comment